
iOS 11 makes scanning documents in the Notes app pretty darn easy. The new feature is very helpful for storing paper items electronically, allowing you to access printed information from anywhere and even send or share it as needed. Here’s how to scan documents into Notes with iOS 11 on iPhone.
Related: iPhone Notes Disappeared? Your Guide to Troubleshooting the iPhone Notes App
How to Scan Documents into Notes
- Open the Notes app, and either start a new note or open a note you want to scan the document into.
- Tap the plus sign icon located in the toolbar above the keyboard.
Important Note: If you don't see the plus sign or the toolbar it's a part of, go back (upper left corner) until you've reached the Folders view. Select a folder under iCloud and begin or continue a note. It will be there! Don't see iCloud in Notes? Make sure you've turned it on by going to Settings, clicking your name at the top, tapping iCloud, and toggling on Notes.
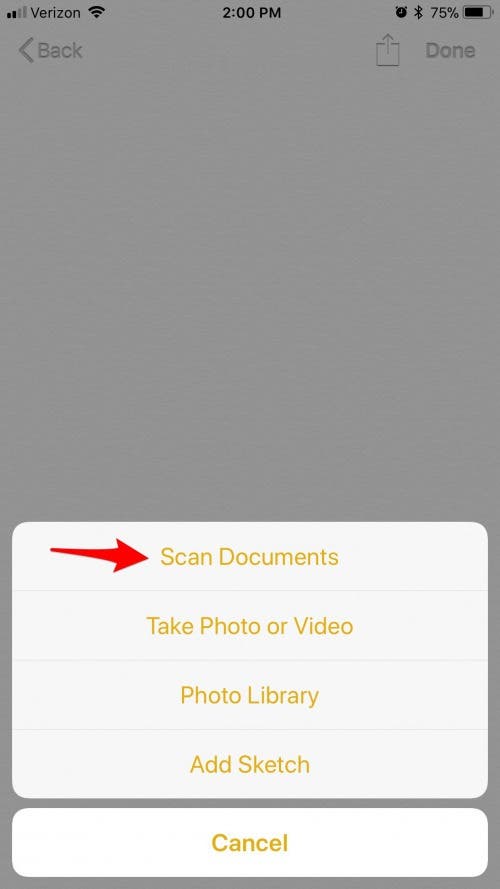
- Tap Scan Documents.

Share this tip with a friend:
|


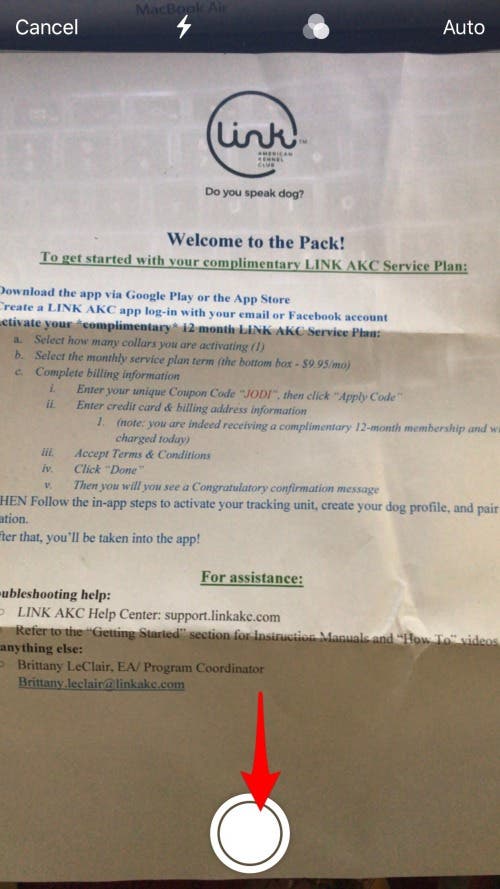
- Position your camera over the document until all of the desired text is in the picture. Tap the white shutter button to take scan the document.
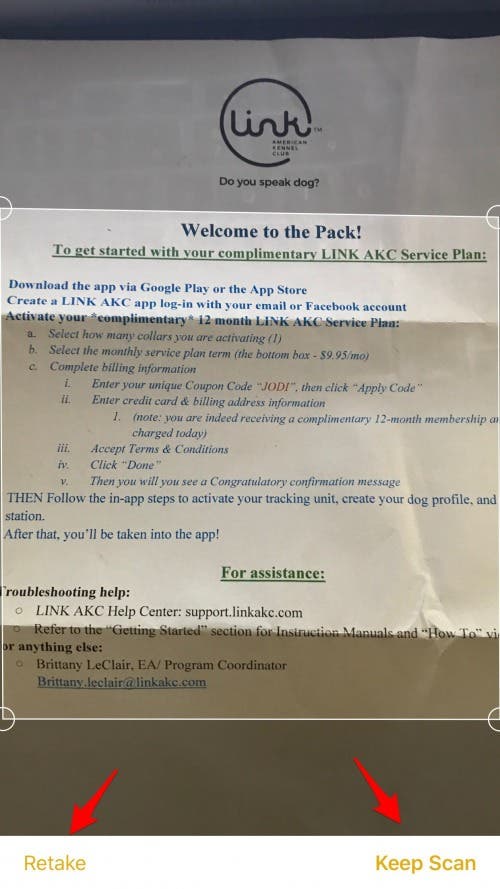
- Now, a square will appear over the document. Drag the corners to include all of the information you want to keep in your scan.
- If your scan missed any information, you can tap Retake in the lower left corner of the screen.
- Otherwise, tap Keep Scan.
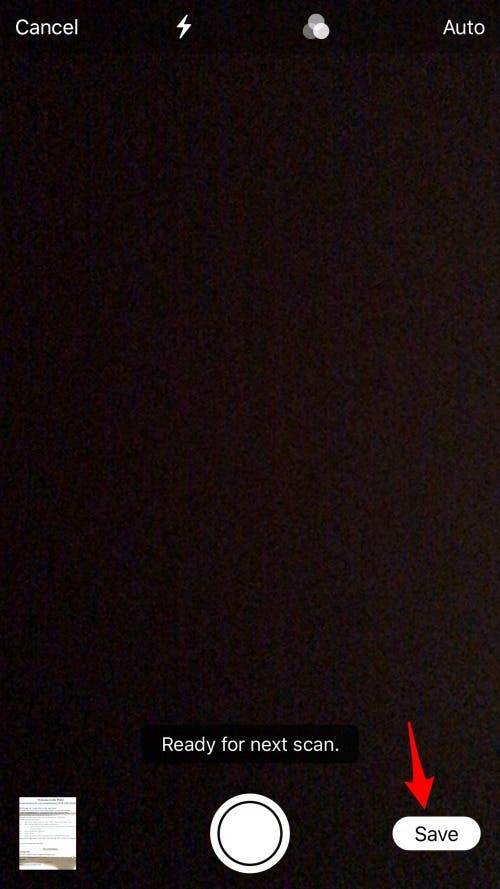
- Your phone will return to the scan documents camera, which is very convenient if you need to scan multiple documents. If not, tap Save to keep the scan(s) you just took and exit.
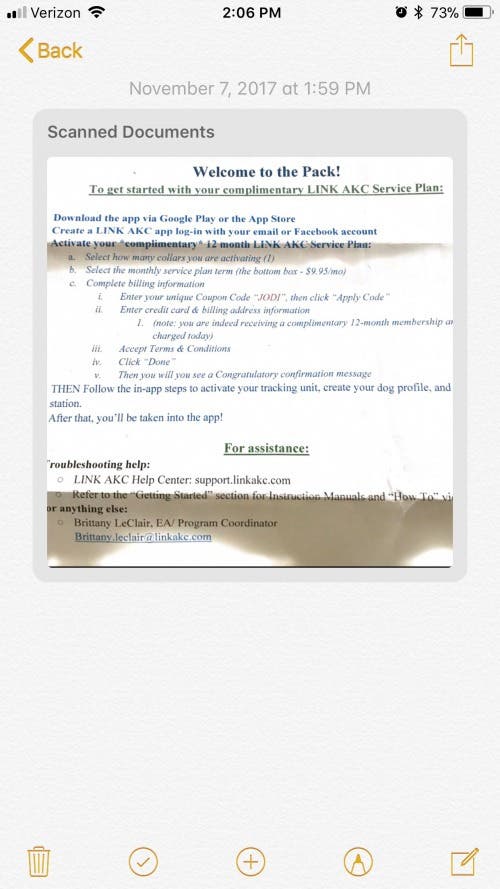
- Your scanned document or documents will all appear in your note, which you can share, print, save to your Files app, and more.